Last Updated on April 26, 2023 by Lisa Vargas
In any survival scenario, shelter is vital. And building a survival shelter with a tarp can save your life in many situations. In many environments, you can only survive about three hours without warmth from shelter or fire. While a fire is great, often people do not have the tools they need to build a fire in the wilderness.
However, shelters are almost always an option. Shelter will block the wind, protect you from the sun, keep out predators, and hold in body heat. You can make shelters entirely from natural materials.
However, short cuts are always a good idea in survival situations. Using a tarp, emergency blanket, rain poncho, or other sheets of plastic can save your hours of work building an effective and waterproof shelter.
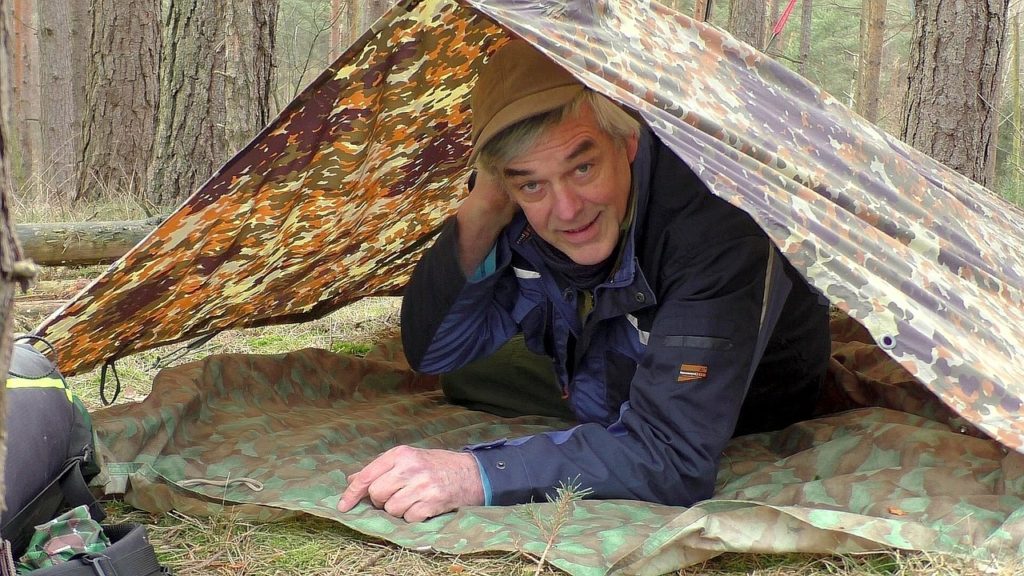
It was my second season of completing survival challenges to test my skills and was the first time I was heading out in the springtime. The tough part about spring challenges is that you can almost guarantee it will rain on you. Getting wet is the easiest way to slip into hypothermia and die.
In addition, it was early spring and nighttime temperatures were dropping down close to freezing. I brought a climbing rope with me along with a tarp style emergency blanket. Knowing that it was going to rain, I built my shelter immediately.
I found an old apple tree and ran a ridge cord. I then attached my emergency blanket with the reflective side facing back towards me to reflect body heat.
I finished off my shelter by using a couple poles and the climbing rope to make a raised bed. It was not very comfortable, but I was confident it would keep me dry.
Not only did it rain but it stormed aggressively. The winds had to be gusting around 20 mph. It even started to hail at one point. The raised bed kept me up off of the ground, and the emergency blanket kept me dry.
The next morning the rain subsided. I was able to catch a fish and get a fire going to purify water and cook the fish. The challenge was a success, and I learned the value of a tarp shelter.
In this article, we will cover the advantages of using plastic sheeting and tarps for shelters and how you can build one yourself.
So let’s go ahead and get started!
Why Should You Use Tarp Or Plastic?
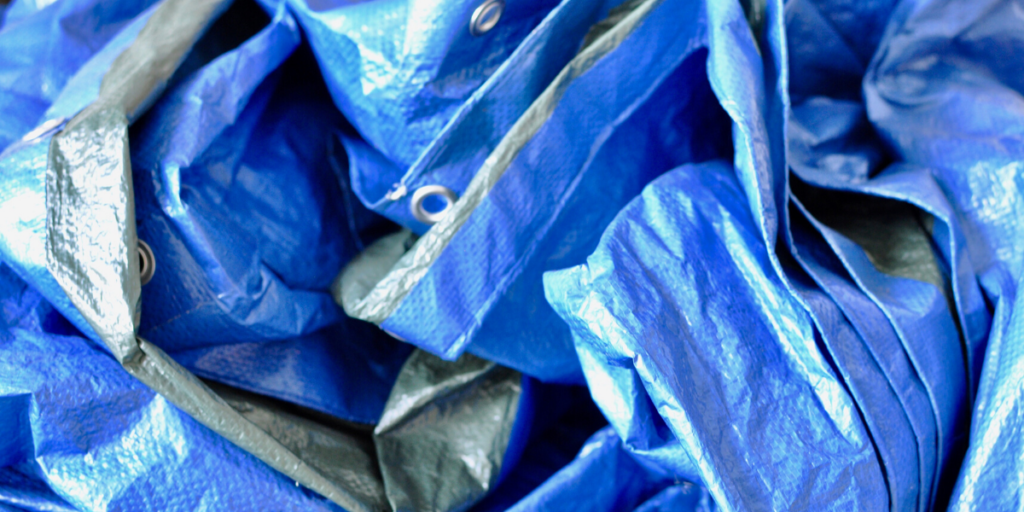
While you may not have an actual tarp with you, any sheet of plastic may do. If you are out hunting, hiking, or camping, there is a good chance you may have a plastic poncho or an emergency blanket with you.
If not, take a look around your immediate area. It is not uncommon to find that the wind has blown scrap plastic into the area, or recent flooding has washed some your way.
The reason plastic is so effective to build a shelter is that it cannot be penetrated by rain or wind. This is incredibly hard to find in nature. Outside of giant leafed plants like banana trees, you will need to look at man-made materials for these features.
The body loses heat 20 times faster when it is wet. If there is even a slight chance of rain, having a waterproof shelter is a huge advantage.
In addition, winds of 10 mph or more can aggressively draw the warmth out of your body. Using plastic in your shelter can help prevent both of these issues.
Finally, building a tarp shelter can take just a few minutes if you do it right.
Downsides To Using Tarps or Plastics
There are three primary drawbacks to using plastic for your shelter. One is that thin plastic is prone to ripping. If you are relying on a sheet of plastic to keep out the wind and the rain and it tears, you are in big trouble.
Whether it rips in the wind or rips because you accidentally kick it in your sleep, your shelter is shot. Another issue is that plastic can get very hot in warm environments.
If the sun is beating down on the plastic on your shelter, the sun will likely be blocked. While this prevents a bad sunburn, it can turn your shelter into an oven. To prevent this, you need plenty of air flow to keep the inside temperature reasonable.
Finally, in addition to holding out moisture it also holds in moisture. As you exhale you send tiny water droplets out into the air in your shelter. When it hits the plastic, it will often condense and build up there.
Eventually, that can cause it to drip down on you. A shelter using plastic can become quite muggy and moist inside if you are not careful. Again, air flow can help with this.
How To Build A Simple Survival Shelter Out of tarp
One of the benefits of building a tarp shelter is that you can have it set up in just a few minutes. If you see a storm rolling in, this can be a huge plus. Please note that you must find an ideal spot to set up, and you should also position your shelter based on prevailing winds as described in our shelter overview article.
You need to first decide how you will use your plastic. If you have a sheet larger than six feet by three feet, you should build an A frame shelter. If your plastic is six by three or smaller, you should use it to build a lean to shelter.
Either way, you will need to start with either a ridge pole or a ridge cord. Find two trees about eight feet apart. Then you can either wedge a pole in between the branches about three to four feet off of the ground, or you can tightly tie cordage between the two trees. Ideally, you would want to use strong cordage such as 550 paracord.
The next step is to attach your plastic. If you are making an A frame, try to evenly drape the plastic across your ridge pole or ridge cord. If you still have slack and it reaches the ground, you can just use rocks to weigh down the four corners.
Stretch it out as far as you can so you have plenty of space and the plastic is pulled tight. If there are no rocks, you can also use your knife and a few sticks to make stakes. If you are making a lean to shelter, you will attach the bottom two corners the same way.
However, you will need to attach the top two corners with cordage to the ridge pole or ridge cord. If there are no corner grommets, you can make a work-around. Find a small stone or small piece of stick.
Place it in the corner of the plastic and wrap the plastic around it. Use a small piece of cordage and tie the plastic tightly around the stone or stick. Then use the other end of the cordage to attach the corner to your ridge pole or cord.
If your bottom corners don’t reach the ground, use the same method to attach them using cordage run to stakes in the ground.
As it sits, if you positioned your shelter properly you now have a shelter that will block the wind and keep out the rain. However, this shelter could be much better.
If you have the time, you want to add some additional features. The most important would be adding a bed. You can build a raised bed, or you can just stack up insulating materials.
Either way, you want your body to be at least four inches off of the cold ground as you sleep. This is more important than any other improvements you could make on your shelter.
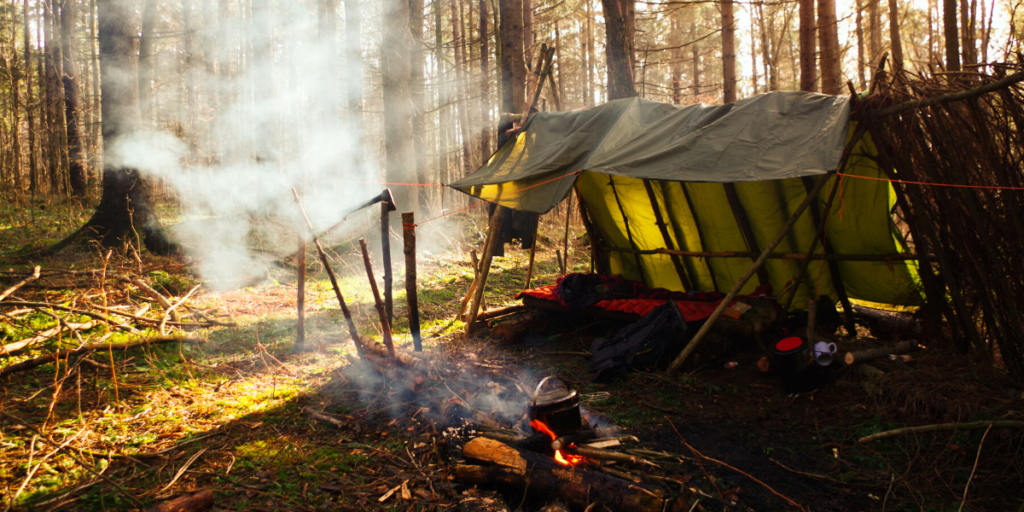
If you finish building your bed and still have time, you can add insulating materials to your plastic roof. However, insulating materials add weight and often have sharp stems.
Just one puncture can rip your plastic, and too much weight can pull it down. Your first move should be to create a support system of poles over your plastic.
Find poles the same length as the distance from your ridge pole to the edge of your shelter. Place them right along the plastic but be sure no sharp points can touch the plastic and potentially rip it.
If you put the poles side by side, you can then add insulating material. If not, you need to add some cross pieces perpendicular to your other poles to be sure the insulation does not fall through and weigh down the plastic.
The point of insulating your tarp shelter is to hold in body heat. Plastic by itself does not do a great job of holding in warmth. However, adding a layer of insulation even just a few inches thick can make a big difference.
Final Words
As you can see, a tarp or other sheet of plastic can be your best friend in a survival scenario. However, just reading this article or having an emergency blanket in your pack is not enough.
You need to get out into the wild and practice setting up a tarp shelter. Start out building one in your back yard. Then try building one on a hike or when you are out hunting.
Finally, try spending the night in a tarp shelter you have built. You should be able to build a simple tarp shelter with no insulation in less than 20 minutes if you are doing it right. With this practice and application, you will be ready to build a shelter quickly if you are ever in circumstances that require it.