Last Updated on April 26, 2023 by Lisa Vargas
It has started to set in. You are lost in the wilderness. Every year dozens of people require rescue from situations like this.
Hikers often decide to leave the trail or get stuck after dark and get turned around. Learning how to build a survival shelter is paramount in these types of situations.
You now have some decisions to make. Chances are you do not have a tent and sleeping bag with you if you were just out for a nature hike.
This means you will be forced to rely upon your knowledge and the natural resources around you.
It is essential that you stay calm, look closely at your situation, and prioritize your efforts.
You should first look at the four pillars of survival: food, water, fire, and shelter. These are the four resources needed to survive in the wilderness.
To further evaluate your situation, look at the rule of threes. This states that you can survive three weeks without food, three days without water, and three hours without warmth from fire or shelter.
Food is obviously not a top priority but do ration the food you have and look around for any quick and easy sources of food.
Water is important so keep an eye out for a good source, but you can wait for the following day if needed.
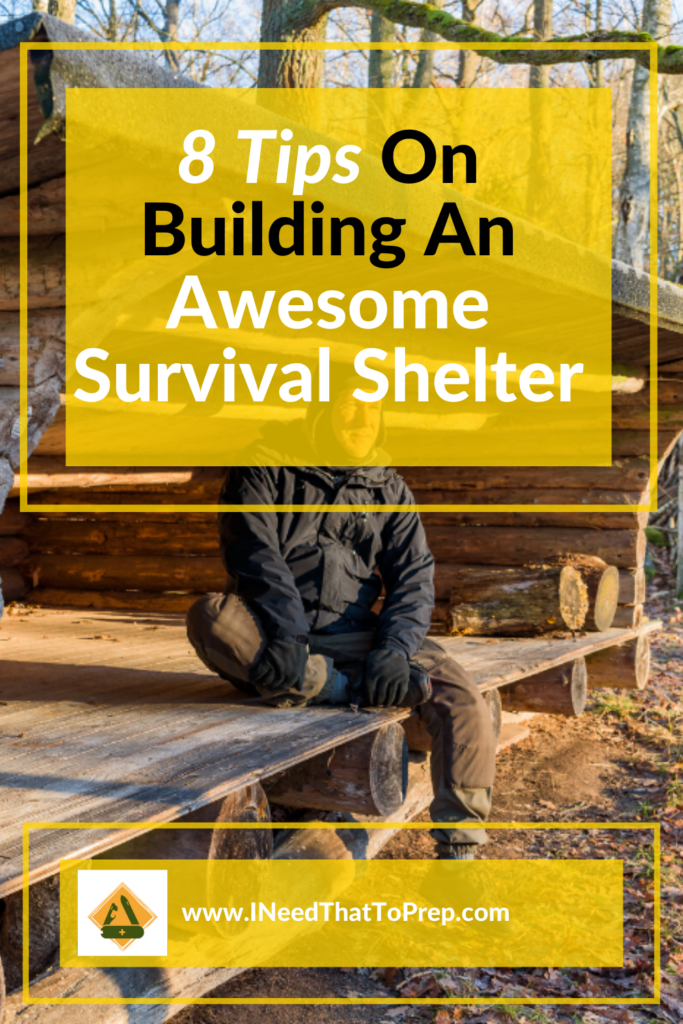
Tip #1: Why Survival Shelter?
Your top priorities should typically be fire and shelter, especially if it is cold or rainy. Keep in mind that temperatures can drop from 90F during the day down to 40F at night in certain parts of the world.
Hypothermia is the condition in which the internal body temperature drops below 95F. Over the course of my dozens of survival challenges, I have been hypothermic several times along with frostbite symptoms.
It involved extreme cold and pain, uncontrollable shivering, confusion, disorientation, nausea, sluggishness, and eventually can lead to death. I have permanently lost some of the feeling in my left hand because of conditions like this.
It cannot be taken lightly and is the number one reason why people die when lost in the wilderness. Hypothermia can set in with temperatures as warm as 60F.
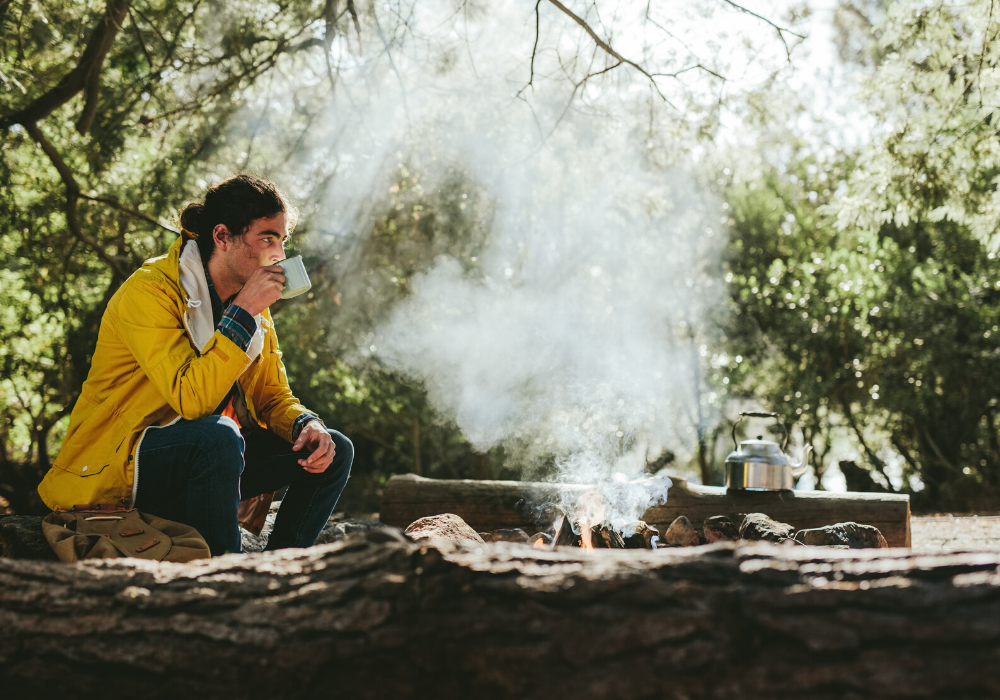
Fire is vital for so many reasons. However, without the right tools, it can be difficult to create a fire. Even if you have the right tools, you want to start a fire right before dark to conserve firewood.
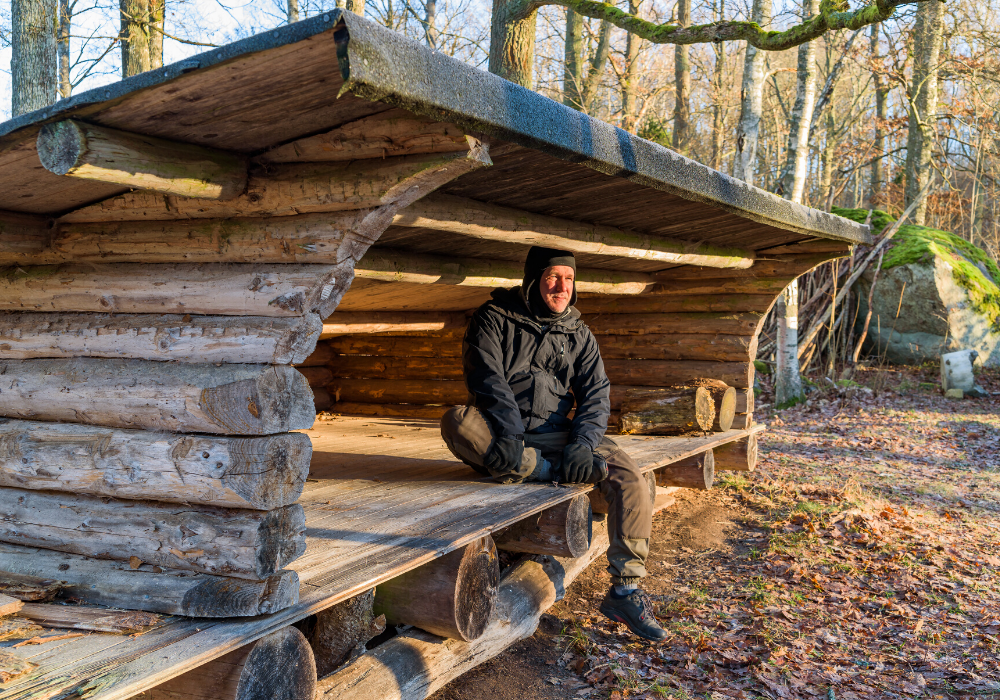
With a survival shelter, you can start working on it immediately and continue to make improvements whenever you have the time.
Tip #2: Planning For Your Survival
To be smart, you should always think about the design of your shelter and the resources you have before starting.
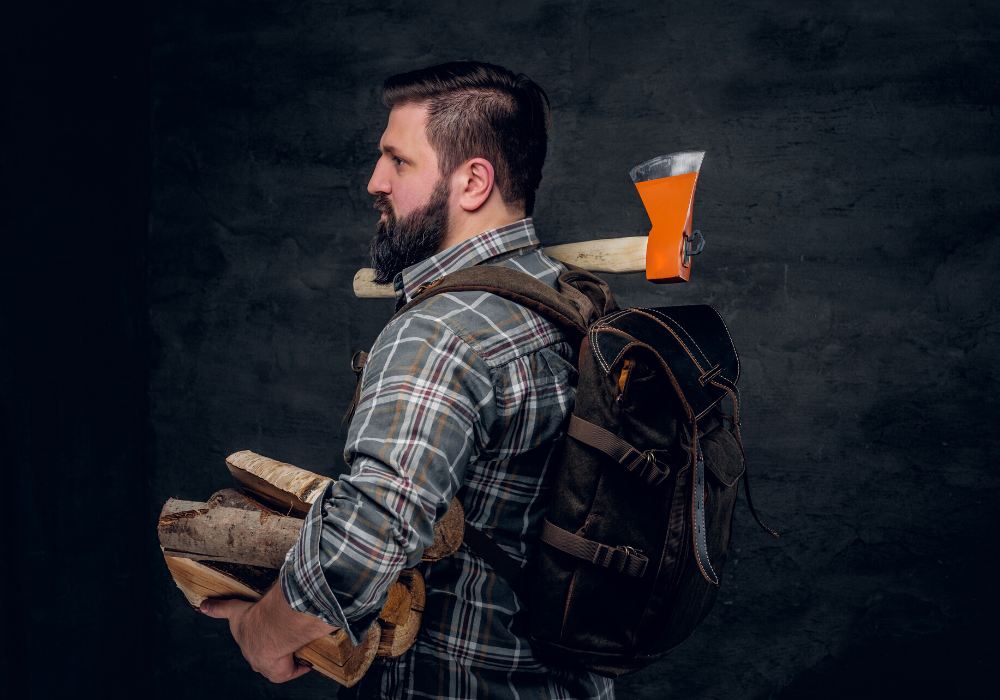
Check your pockets and pack to see if you have a knife, cordage, or anything else that could help.
Then look around at your resources. Do not just consider natural resources, but also found man-made materials.
Items such as plastic bags or sheeting, Styrofoam, or materials stripped from old cars are perfect.
If you do not have good building and insulation materials for shelter, you may want to check out areas close by for better resources.
Depending on how you approach your shelter, it could take all day to build or could take less than an hour.
On my very first survival challenge, I started building my shelter at 8 am. I selected a design that was fairly complicated but felt I would have enough time before dark. I put together a wooden frame for the roof and then laced thin branches in between to create a mesh.
I then put down a layer of large, flat leaves like shingles. To finish it off, I tied together bundles of long grass and layered them in shingles to try and make the shelter waterproof.
However, I did not think through the design.
I became extremely dehydrated and spent all day building an ineffective shelter. I built the roof about two feet too high and had the taper on the wrong side.
Because of this the rain came in at an angle and drenched me despite a complex and waterproof roof.
The winds were blowing at around 30 mph with both rain and hail, and my fire was out within the first hour.
My emergency blanket was the only thing that kept me from becoming hypothermic.
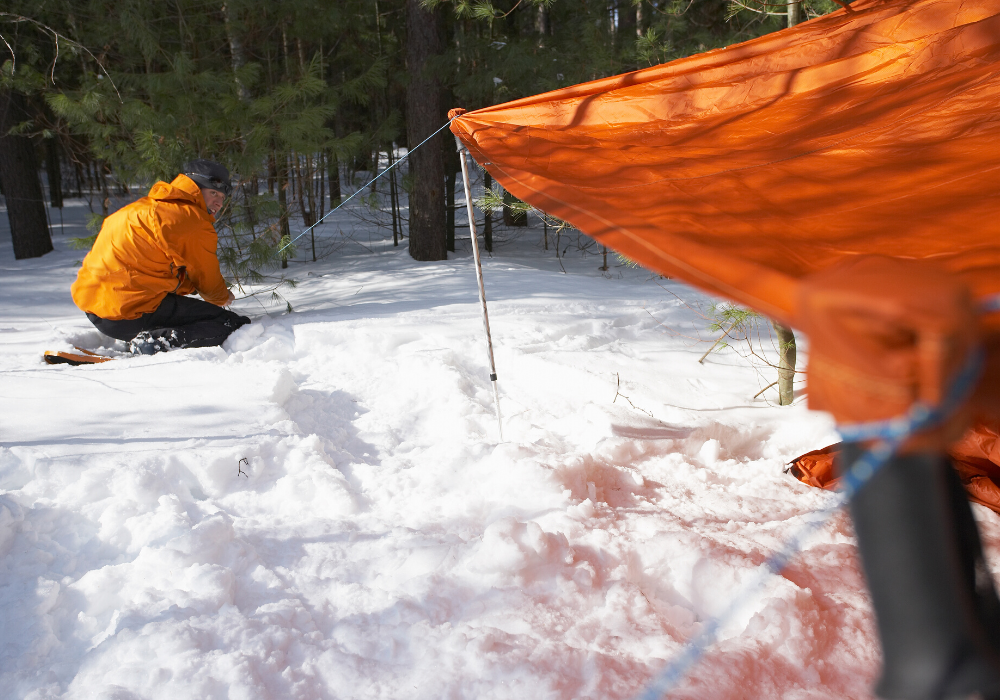
However, on my wet weather challenge two years ago I went into the wilderness with only a knife and the clothes on my back.
There was heavy rain in the forecast every day and night, and it was expected for temperatures to drop into the 40s.
I knew I needed a good shelter as fire would likely not be an option. I started at noon and found an old fruit tree that created a natural canopy to help with wind and rain.
I cut down a small maple to use as a ridge pole and ran it from the fruit tree to a neighboring tree.
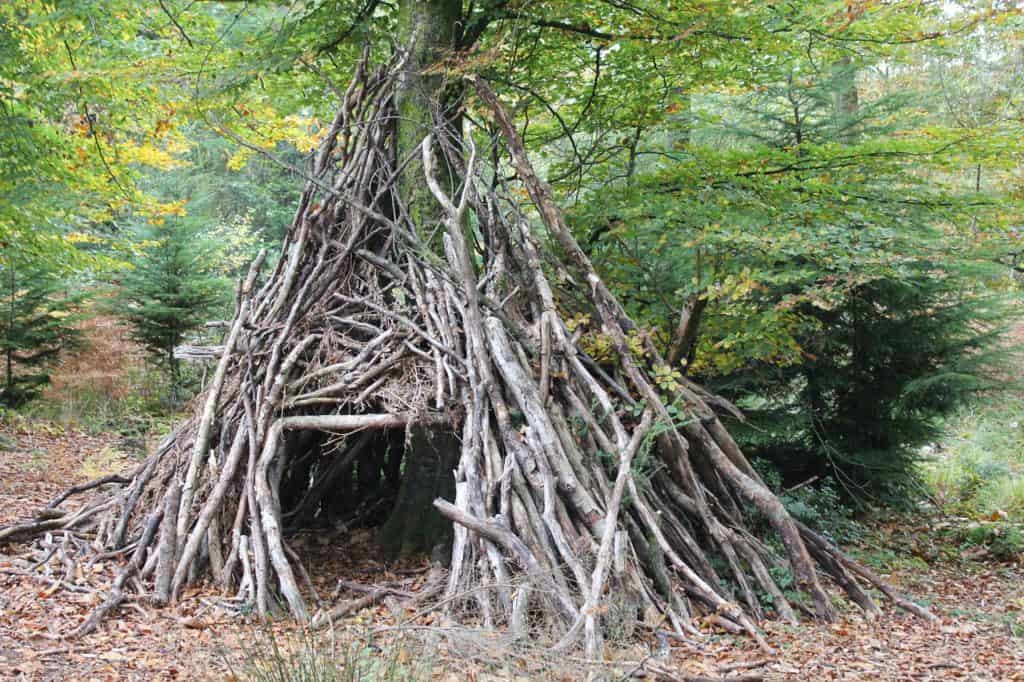
I kept the survival shelter low to the ground with the ridge being just four feet high. I cut bunches of smaller branches to create a frame for the lean-to and rested them against the ridge pole at a 45-degree angle.
I then piled dead grasses on top about a foot thick and used remaining grasses for a bed. The shelter took about 90 minutes to finish and kept me dry through the entire challenge.
The point of these two stories is to show that planning and execution is so important to building a quality survival shelter.
In this article, we will discuss the basic principles of how to build a survival shelter that should apply to any survival shelter in any environment.
Then we will follow up with additional articles to specifically discuss different types of shelters. So stay tuned!
Tip #3: Survival Shelter Location
One of the most important decisions to make on a survival shelter is the location. It amazes me how often I see so-called experienced survivalists build a shelter in the wrong location only to realize their mistake overnight.
Often people build too close to running water or in a low spot only to get flooded out. Sometimes people build too close to standing water and must deal with biting insects.
Other times they build in areas with active predators and spend all night listening to them outside their shelter.
All of these scenarios can render your survival shelter useless.
When considering shelter locations, I like to walk a good-sized area and come up with three good options. Once I have my top three spots, I select from there.
Survival Shelter Safety
The first factor I consider is safety.
I like to look at proximity to water for a few different reasons. It is important that your shelter be at least 100 yards from a water source to avoid predators and insects.
It is also important to be sure you are not in a potential flood zone. Keep in mind that flash floods can come from storms miles away.
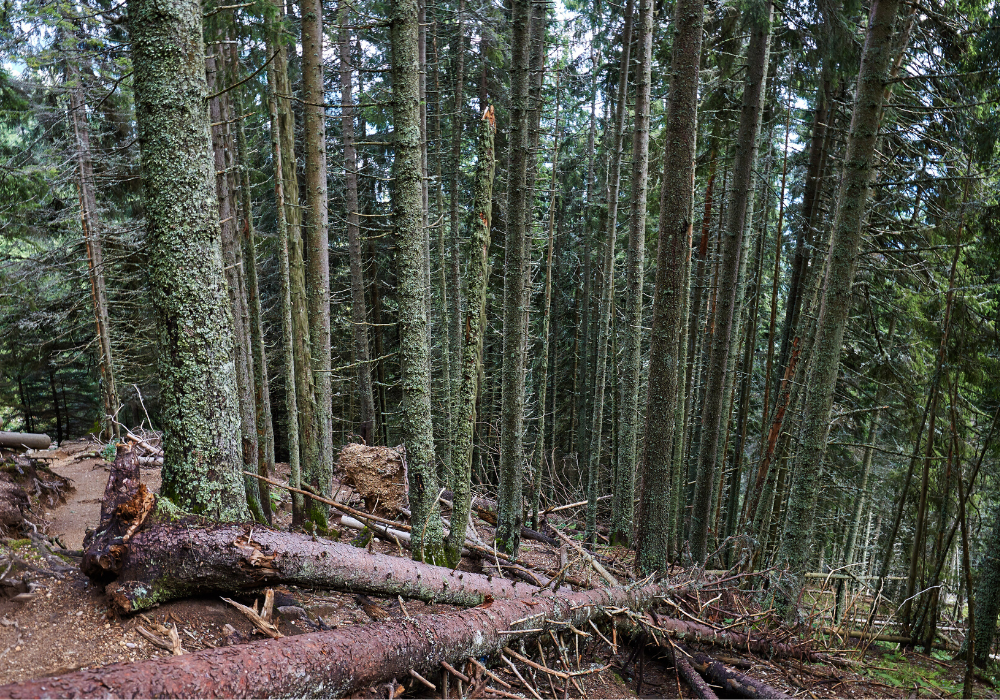
The weather can be perfect at your location and can still flood if there is rain upstream. For safety, you should also look for widowmakers.
These are dead trees or branches that could potentially fall on you or your shelter.
Tip #4: Survival Shelter Resources
Aside from safety, I also like to consider resources. Your location should be within a reasonable walking distance to a water source.
There should be plenty of building supplies and firewood close by including dead wood, small green poles, vines for cordage, and materials for insulation.
Insulation can include dead leaves, spruce boughs, tall grasses, ferns, or large-leafed plants.
Ideally, I like my shelter location to have at least two trees to use as support poles, but this is not always needed.
You can also use natural features such as caves, rock faces, and fallen trees to help make your shelter more stable and secure.
If you can find a flat spot clear of ground vegetation and rocks, that will make building much easier.
Be sure to consider food sources. This could be game trails, fishing holes, or wild edibles.
Survival Shelter Weather Factors
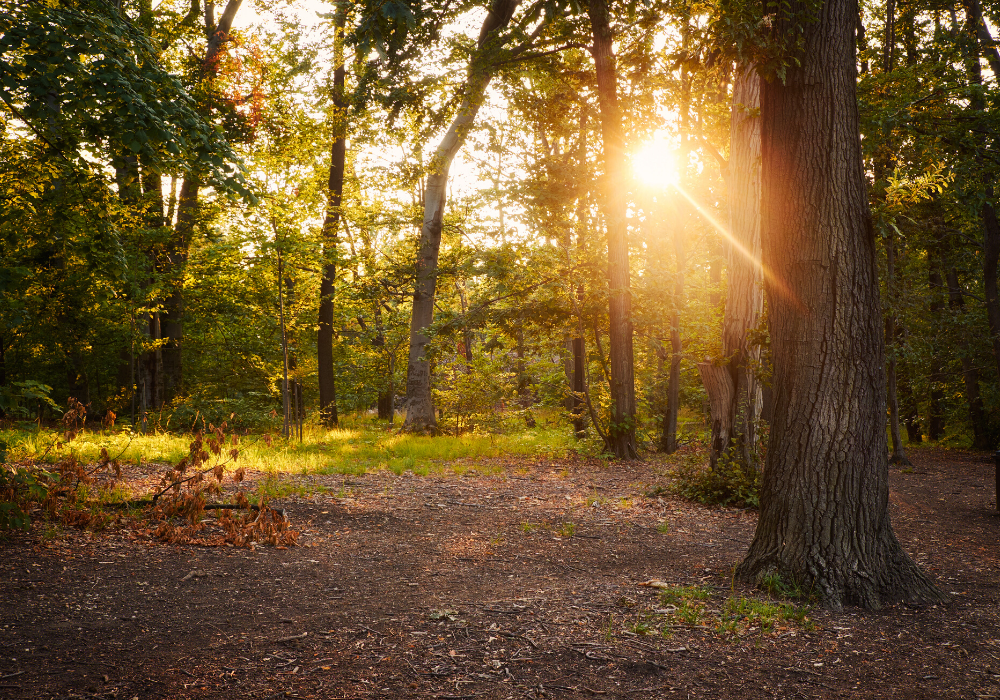
Finally, try to consider factors such as wind and sunshine. These can make a huge difference in how warm your shelter will be.
Try to build your shelter exposed to sun to the south or west and try to be blocked from the prevailing winds.
Tip #5: Conserve Energy and Resources
It is common to see survivalists use dozens of feet of cordage or spending hours sawing down poles or carrying rocks to build a shelter. All of this is completely unneeded.
If you are smart about building your shelter, you do not need a huge amount of effort or resources. Keep in mind that every action in a survival scenario is a calculated risk.
The more effort and time you put into your shelter, the more you risk injury. You are also burning calories, becoming dehydrated, and using up daylight that could be used for other tasks.
This was mentioned in the planning section, but using existing structures such as fallen trees, live trees, rock faces, and caves can make your build more secure and can save you a great deal of time and effort.
You can always use dead wood for building your shelter. I cannot tell you how many shelters I have made without ever using my saw or hatchet.
Just put the dead pole between two tree trunks and use leverage to break it to the proper length.
Never stomp on poles to break them as they could kick back and injure you. Try to use gravity to help hold your shelter together if possible.
For example, you can use live trees for base poles by resting ridge poles in the crotch of the live trees.
This way I do not have to cut poles and do not have to dig holes to bury them. I do this with almost all of my shelters. I like to lean poles against the ridge pole at a 45-degree angle if possible.
This allows me to build an entire shelter without using any cordage at all. If I do use cordage. I like to split open paracord and use the interior strands.
If I have a reason to secure my shelter with cordage, just a few feet of paracord can cover the whole build.
Try to find insulation that is easy to collect and move. For example, you can always use a knife or saw to cut leafy branches for insulation.
However, it conserves more energy and typically gives you better insulation to use loose materials. Dead leaves are great for this.
I like using dead grasses, but even cutting grasses can wear on your hands over time. If you are using spruce boughs, try to find ones you can break by bending them back on themselves.
If you avoid cutting them, you conserve energy. Finally, do not overlook snow as insulation. Snow is 90% air and 10% water making it ideal insulation.
Just try to keep it on the sides of your shelter so it does not melt and drip down from above.
Tip #6: A Smaller and Simpler Survival Shelter Can Be Better
Many people feel that a shelter with plenty of room to store your gear and move around is best. In addition, many people feel that a complex design will give them a better end result.
Both of these assumptions are dead wrong for a few reasons. First, large or complex shelters take more time, energy, and resources to build.
Keep in mind you have limited daylight to get a workable survival shelter together, and you still want time for fire, water, and possibly food.
Also, the more calories you burn and the more dehydrated you get, the more food and water you will need to collect.
You are best to get a small, simple shelter built and then continue to improve it as you have more time.
In addition, the more air you must keep warm in your shelter the colder it will be. Whether you are heating your shelter with body heat or with a fire, you want a tight space.
Large survival shelters are typically cold and drafty, and you end up spending the night huddled around the fire wishing you had built differently.
Also, building a smaller shelter allows you to make it more effective. For example, a small shelter may allow you time to make it waterproof in case it rains.
It may allow you to make the walls completely windproof. It may give you a chance to build a bed to get you up off of the cold ground.
You most certainly will have more time to add insulation to keep it warmer.
Tip #7: Always Build a Bed

It may seem like a minute detail or a luxury, but some sort of bed is absolutely needed. The main reason is insulation from the ground.
Sleeping directly on the ground sucks a huge amount of heat out of your body. This will affect your core body temperature making hypothermia much more likely.
Ideally, you want your body at least four inches off of the ground. In a perfect world, this means using poles to make a raised bed and then adding insulation above and below the bed.
You may not have the time or resources for this, but you can use insulation alone. Building a survival shelter bed of dry leaves, grasses, or spruce boughs can work just fine.
However, keep in mind that your body must be four inches off of the ground once you are lying on it. This means that prior to lying on it your insulation must be piled up much higher.
I try to shoot for between one and two feet of insulation. Focus on keeping your head and core off of the ground but elevate your whole body if at all possible.
While warmth is the primary concern, you want to try to make your bed comfortable. Sleep deprivation is a major concern.
If you can make a comfortable bed, you will be much more likely to get a good night’s sleep.
Tip #8: Focus on the Elements of a Survival Shelter
Each survival shelter I have built was focused specifically on the details of that particular situation. For example, if I expect rain in that area and that time of year then I always try to be sure I have a waterproof roof.
If you get wet, your odds of survival are much lower as the core body temperature drops 20 times faster when you are wet.
If I expect cold temperatures, I spend my time focusing on insulation around me and below me.
I also consider if I want to build my fire inside my shelter or just outside.
Please remember that shelters with a fire inside must have good ventilation to prevent carbon monoxide poisoning.
If it will be hot and dry at night, you may actually want some breeze blowing through. If it is cold and windy, you will want stronger and thicker walls to block the wind.
Also, consider that you need your survival shelter to help you avoid insects and predators. Raised shelters and survival shelters with thick or thorny walls can help with this.
Also be sure you have good protection from the open sky. Obviously, a solid roof is important for keeping rain off of you.
However, there are more factors to consider. Protection from the sun is vital. If there is not much shade in your area, you will need a place to hide from the sun during the hours when it is high in the sky.
Sunburn can be a killer, and sun exposure also creates a higher rate of dehydration. The factor most people do not consider is how open exposure to the sky at night can make you colder.
The science behind it is complicated but sleeping without a canopy will make you colder than sleeping under a roof. Ideally, you want your shelter to completely surround your body.
Final Thoughts
As you can see, there are lots of factors to consider when building a survival shelter in the woods. Do not be overwhelmed by all of this information. Most of this is common sense.
People tend to panic in survival situations and act irrationally. Just take a deep breath, come up with a plan, and execute.
Be sure to read our follow up articles in which I will detail the most effective shelter designs and how I have built them on my survival challenges.